
Nintendo ensures that players can effortlessly keep their Nintendo Switch controllers charged, ensuring uninterrupted gaming sessions. In this comprehensive guide, we'll explore various methods to charge Joy-Cons and the Pro Controller, providing you with detailed steps and recommendations to optimize your charging experience.

How to Charge Joy-Cons
If the Joy-Con Grip is your primary Nintendo Switch controller, follow these steps to efficiently charge your Joy-Cons without any additional accessories:
- Attachment to Switch:
- With the Switch on, attach the Joy-Con controllers to either side of the console until they click.
- Ensure the Switch’s dock or AC adapter is plugged in.
- Put the Nintendo Switch into "sleep" mode by hitting the power button on the top.
- Wait for approximately 3.5 hours for a full charge.

Alternatively, if you prefer a charging dock:
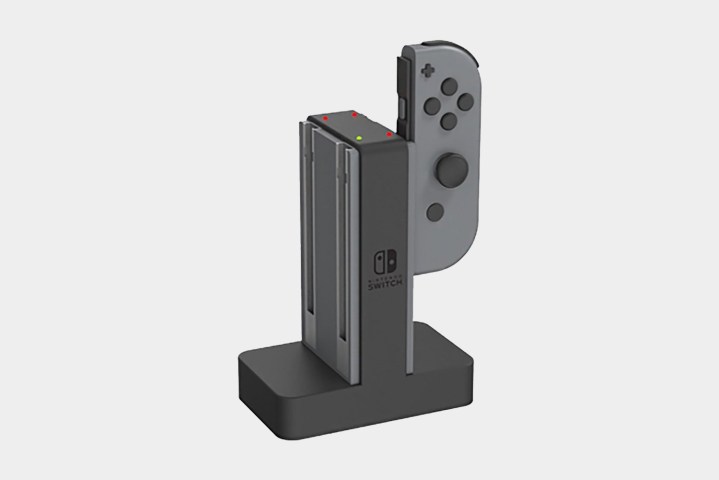
Use a Charging Dock
- Joy-Con Charging Dock:
- Plug the included cable into the USB port on the Switch’s dock.
- Place up to four Joy-Con controllers into the dock.
- Wait until the lights turn green, indicating full charge.
Charging Joy-Cons while Playing
Continue gaming while charging your Nintendo Switch controllers:
- Use a Nintendo Switch AC adapter:
- Plug it into a wall, ensuring the cord reaches your gaming area.
- Attach the Joy-Con controllers and keep playing while they charge.
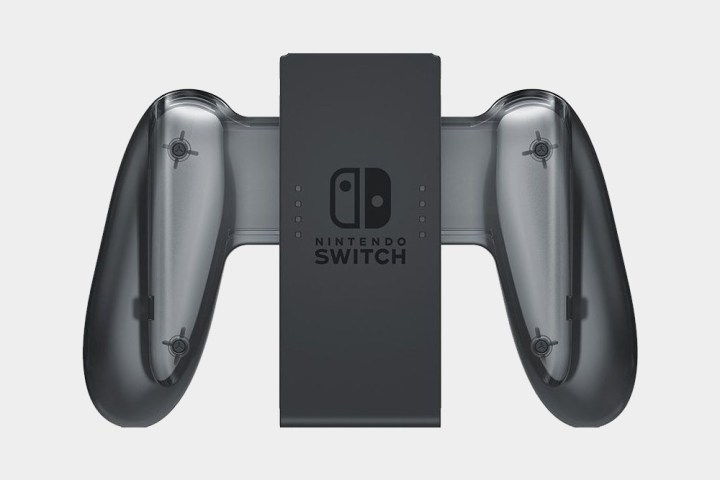
Charging with the Charging Grip
For TV gaming while charging:
- Charging Grip:
- Connect the Charging Grip to the Switch’s dock.
- Insert Joy-Con controllers and play while they charge.
Charging with a Charging Case
Explore the S-Charge, a portable charging case:
- S-Charge:
- Ensure the S-Charge is charged.
- Attach the Switch with Joy-Con controllers and close the flap.
- Controllers will charge with a battery capacity double that of the Switch.
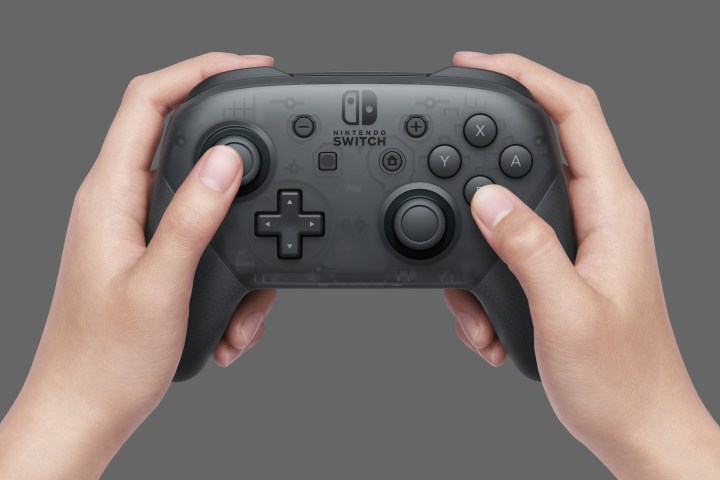
How to Charge a Pro Controller
For docked gaming with a Pro Controller:
- Charging via Switch Dock:
- Plug the Pro Controller into the USB port on the Switch’s dock.
- A full charge takes about six hours.
Alternatively, charge the Pro Controller without the Switch dock:
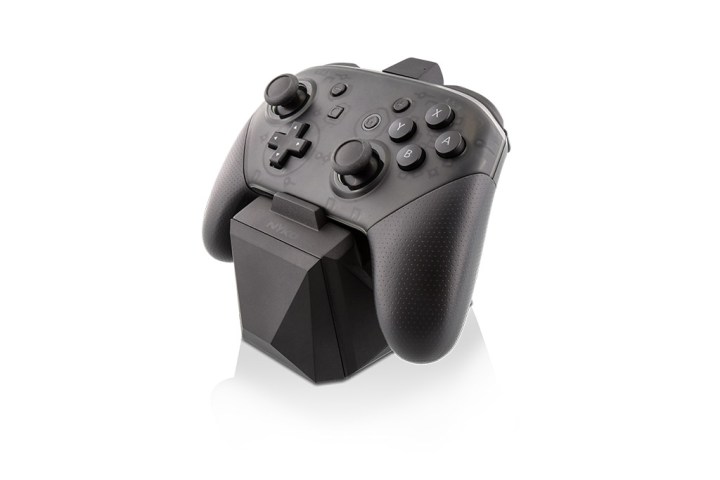
Charging without Switch Dock
- Nyko Charge Block Pro:
- Insert the charging dongle into the Pro Controller.
- Connect the USB cable to the AC adapter and plug it into a wall outlet.
- Place the controller on the Charge Block Pro; the indicator turns orange during charging.
Recharging Considerations
Nintendo Switch controllers have varying charging speeds, influenced by equipment and usage. Experiment with different cables and modes to find the optimal setup. Additionally, consider having a backup controller for uninterrupted gaming.
Frequently Asked Questions
How do I know if my Nintendo Switch controller is charged? Simply check the Joy-Con icon on the Switch’s main menu for the current charge level.
How do you charge a Switch controller without a dock?
- Attach them to your Switch, plug the console's power adapter into the wall, put your machine into Sleep mode, and wait three and a half hours.
- Use a Charging Grip for TV gaming while Joy-Cons charge.
Conclusion
By following these comprehensive charging methods, you can ensure your Nintendo Switch controllers are always ready for action, providing a seamless gaming experience. Experiment with these techniques to find the setup that suits your preferences and gaming habits. For more gaming insights and tips, stay tuned to our updates.
Note: Ensure the markdown syntax is accurately translated when implementing this on your website.
